Dental Article
The Art of the Hand-Crafted Smile: Analog Techniques for Natural-Looking Dentures
In the modern era of dentistry, the highest level of realism often comes from the human touch. While digital scans are precise, it is the analog craftsmanship of a skilled denturist that truly breathes life into a prosthetic.
Schedule Free Consultation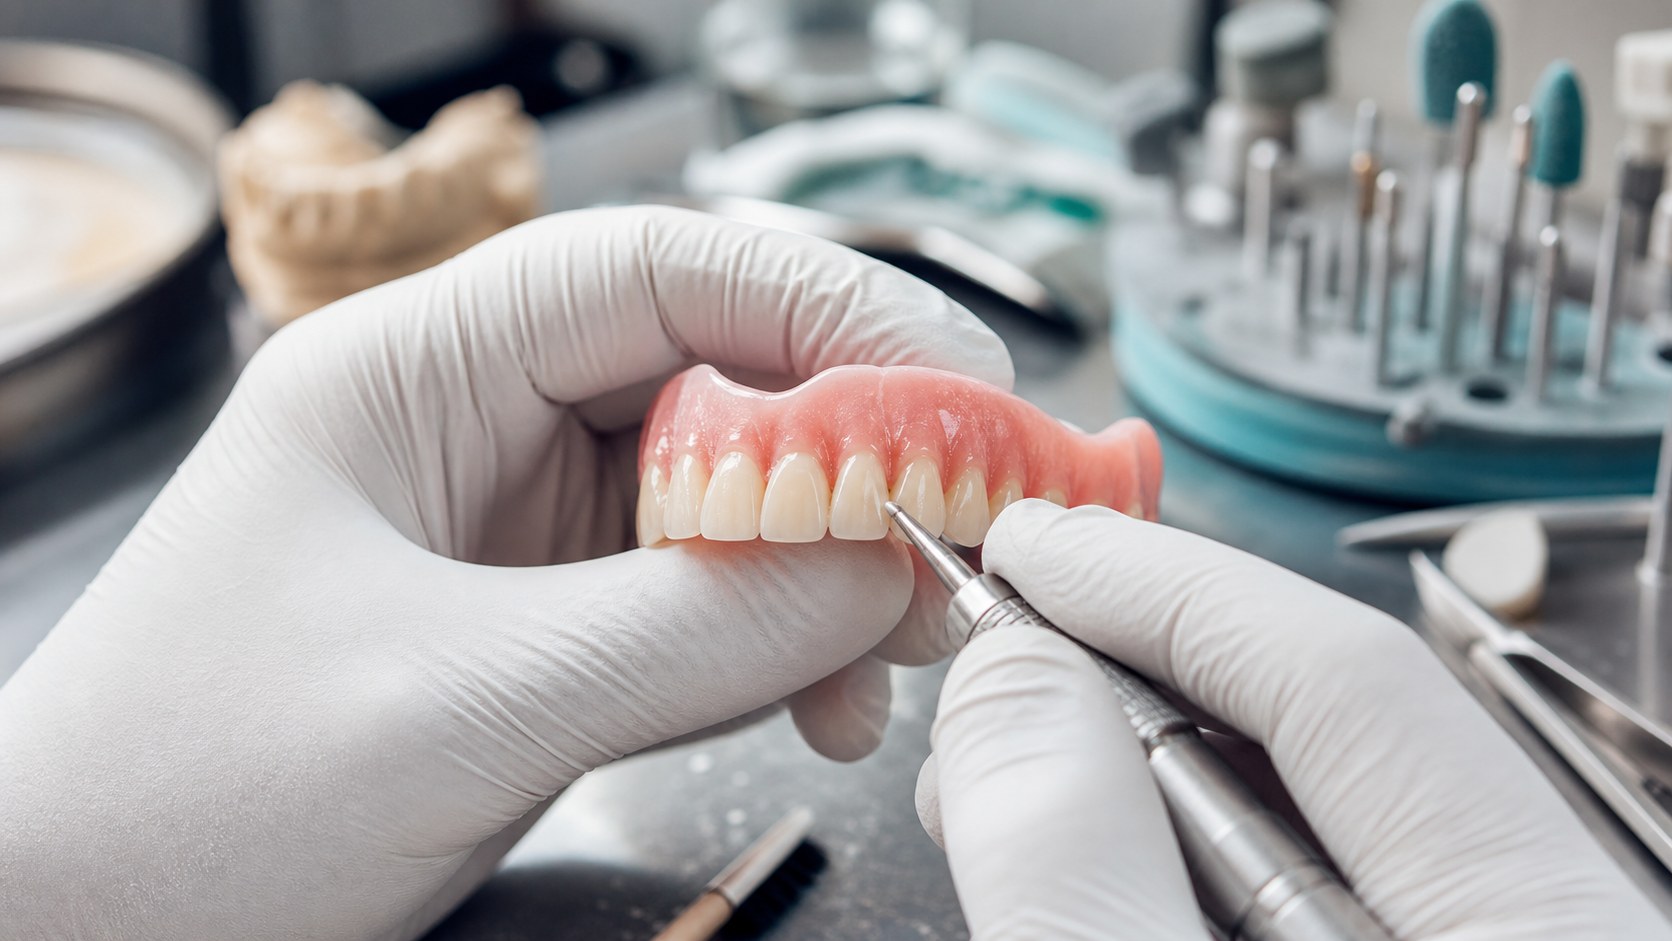
At MyBite, we believe that natural-looking dentures are not just manufactured—they are sculpted. If you are searching for custom dentures in Calgary or quality teeth replacement in BC, understanding the hand-crafted techniques used at our on-site labs can help you make an informed decision for your smile.
1. Hand-Crafted Tooth Arrangement (The Wax Try-In)
The most critical step in analog customization is the wax try-in. Unlike automated software, our denturists manually set each tooth into a wax base. This allows for:
Individualized "Characterization": We can slightly rotate or overlap teeth to mimic the subtle imperfections of a natural smile.
Incisal Translucency: Hand-selecting teeth with varying layers of acrylic or porcelain creates the "depth" found in real enamel.
The "Smile Line" Check: During your appointment at any MyBite clinic, we physically adjust the teeth while you speak and smile to ensure they support your lips and facial muscles perfectly.
2. Gingival Festooning and Stippling
Natural gums are not smooth or flat. To avoid a "plastic" look, our technicians use manual carving tools to perform:
Festooning: Creating the natural "root eminences" or bumps in the acrylic that mimic where your tooth roots would sit.
Stippling: Using a specialized brush or burr technique to create an "orange peel" texture. This breaks up light reflection, ensuring your dentures don't look shiny or fake under bright lights.
3. Custom Multi-Layered Tinting
A "one-shade-fits-all" pink base is a thing of the past. At our MyBite labs, we use an analog tinting process that involves:
Veining: Adding tiny red fibers to simulate the appearance of natural blood vessels.
Gingival Tones: Layering different shades of pink and deep red acrylics to match your specific gum pigment, especially near the "attached gingiva" where colors naturally deepen.
4. Personalized Anatomical Contouring
The back of the denture is just as important as the front. We manually contour the "palatal rugae" (the ridges on the roof of your mouth) and the "lingual flanges." This doesn't just look natural; it helps your tongue navigate the prosthetic, making speaking and eating feel more intuitive from day one.